Developing with Azure
12 September 2015
For my first blog post, I thought I should jump in with something technical, and so i've decided to detail how I wrote a blogging system using the Microsoft Azure Cloud along with PHP, HTML and CSS.
Setting up the server
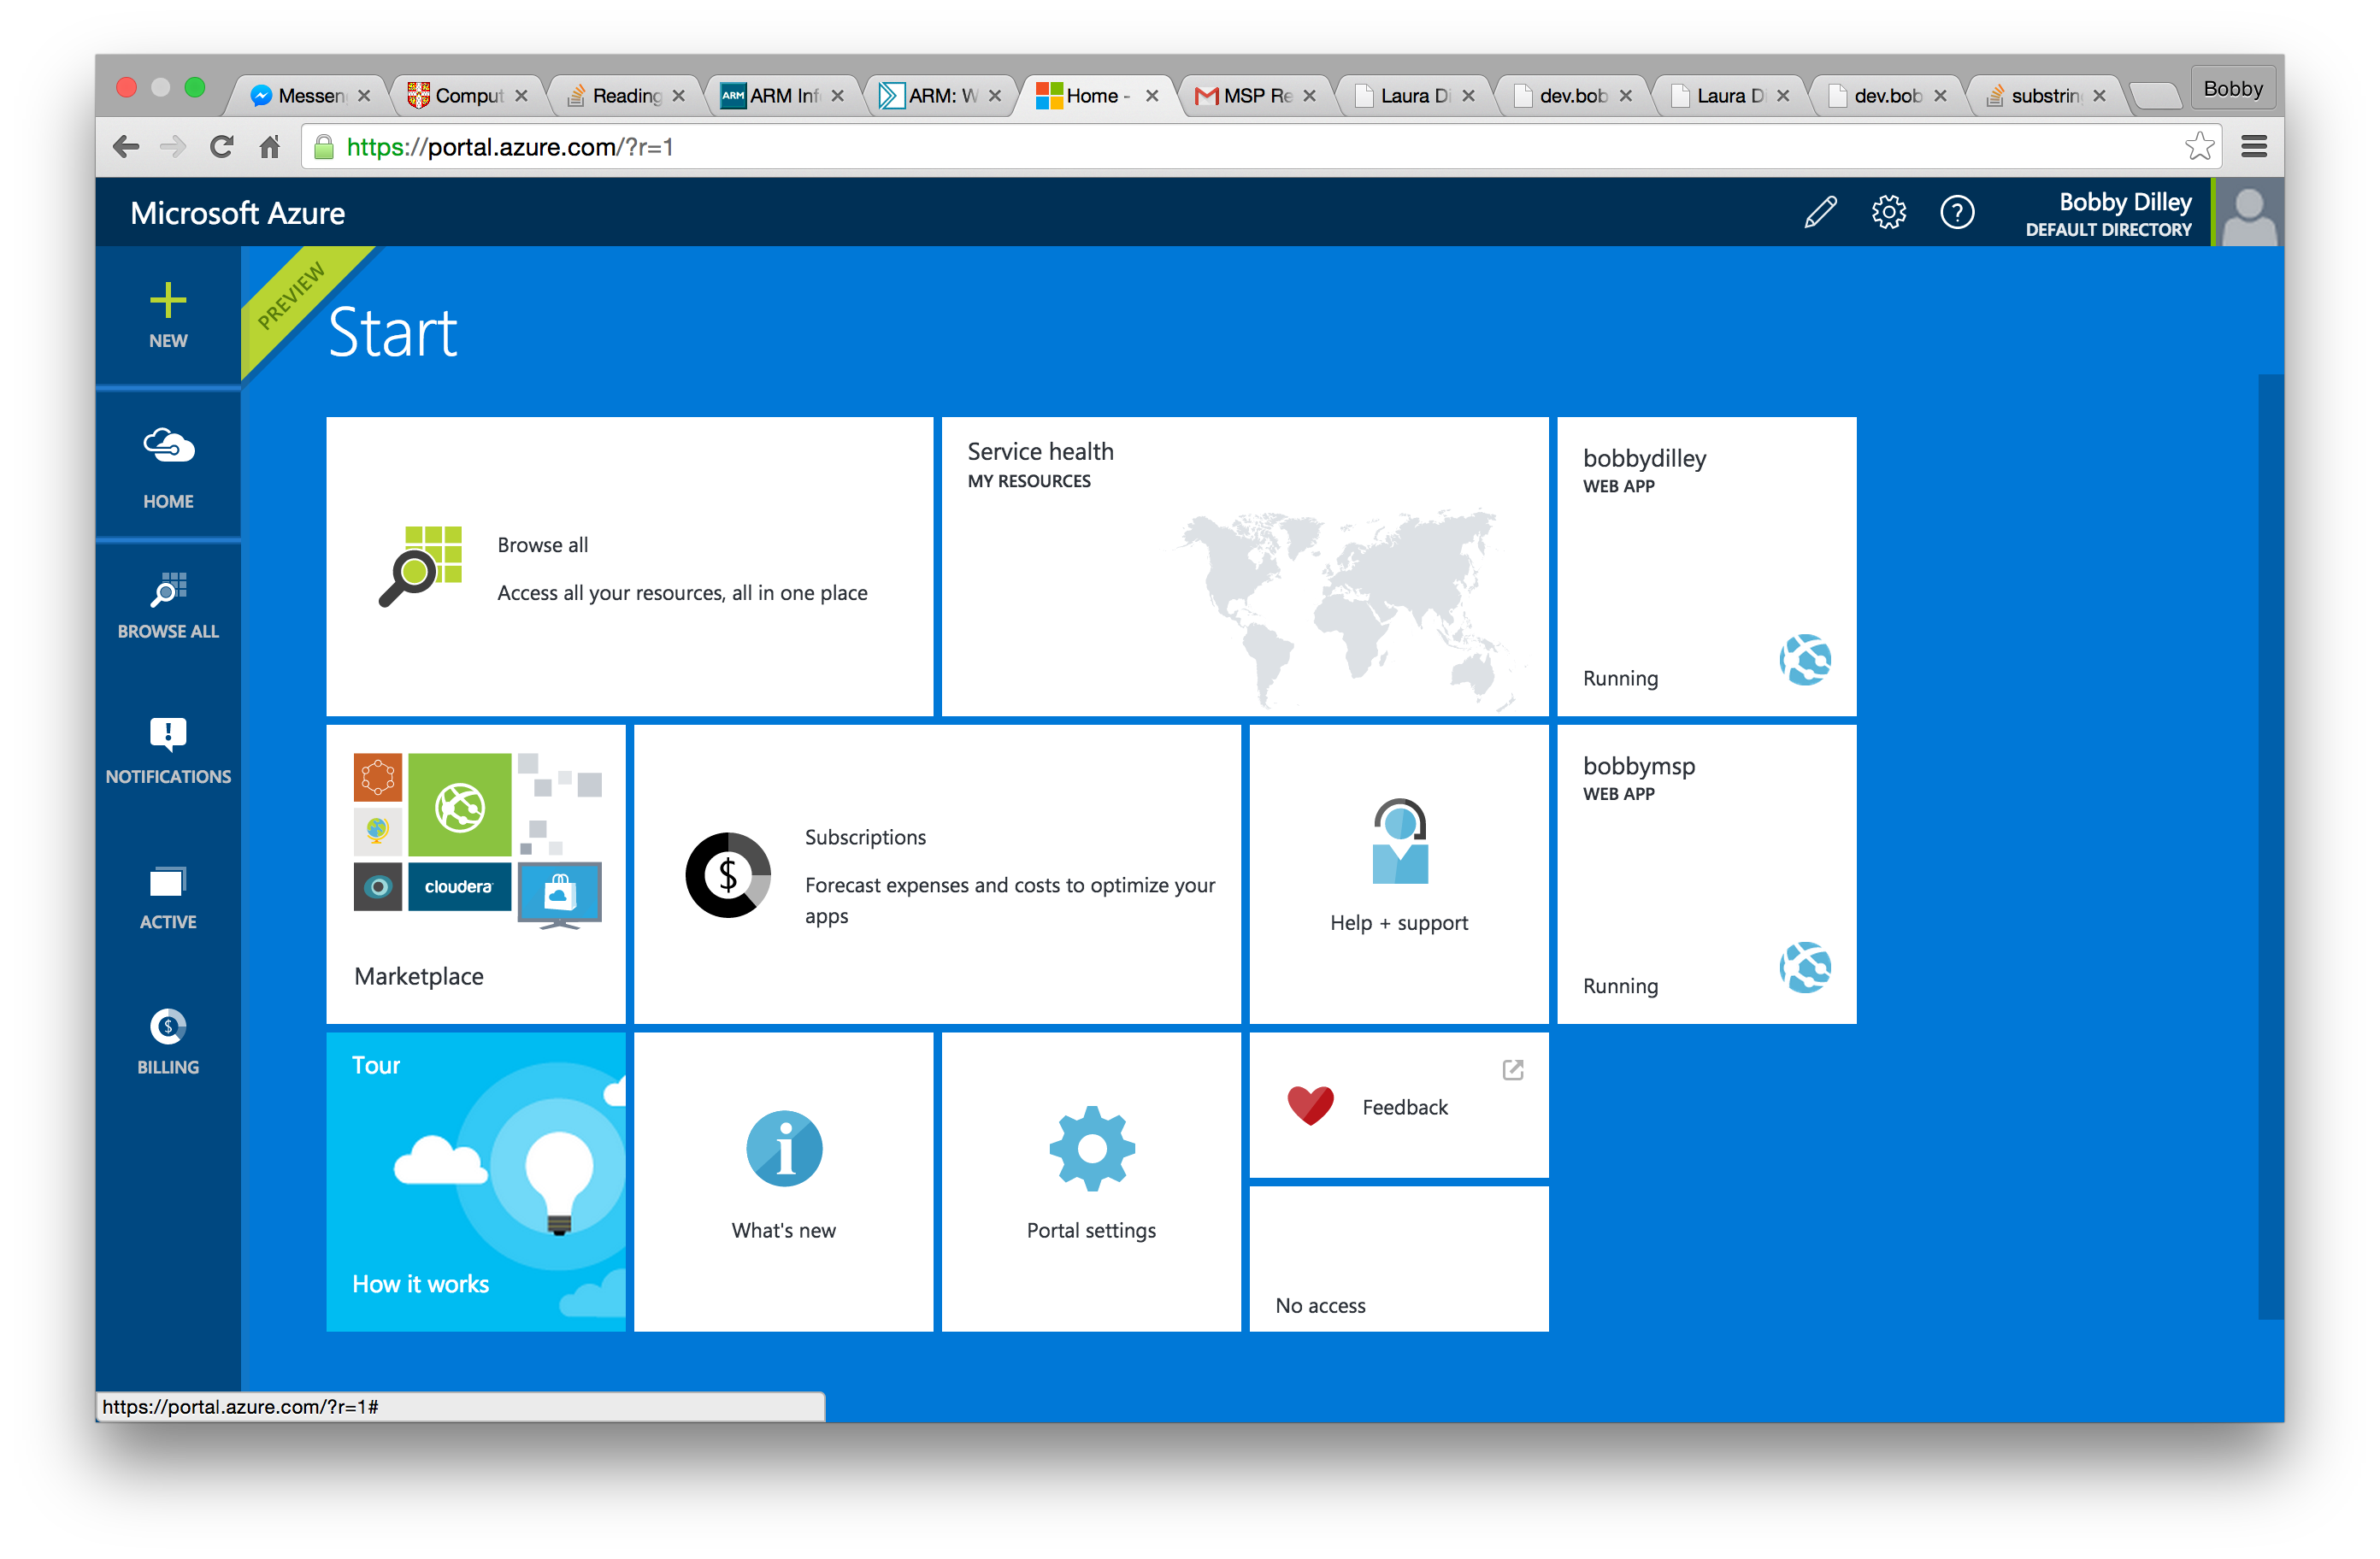
So, after you've logged into the azure portal with your Microsoft Account you are presented with a metro style interface, which has all the tools you need to start building a web app. If this is your first time opening the portal its unlikely that you will have any services. To create one I clicked the 'New' button in the top left and was presented with lots of different setups I could choose from.
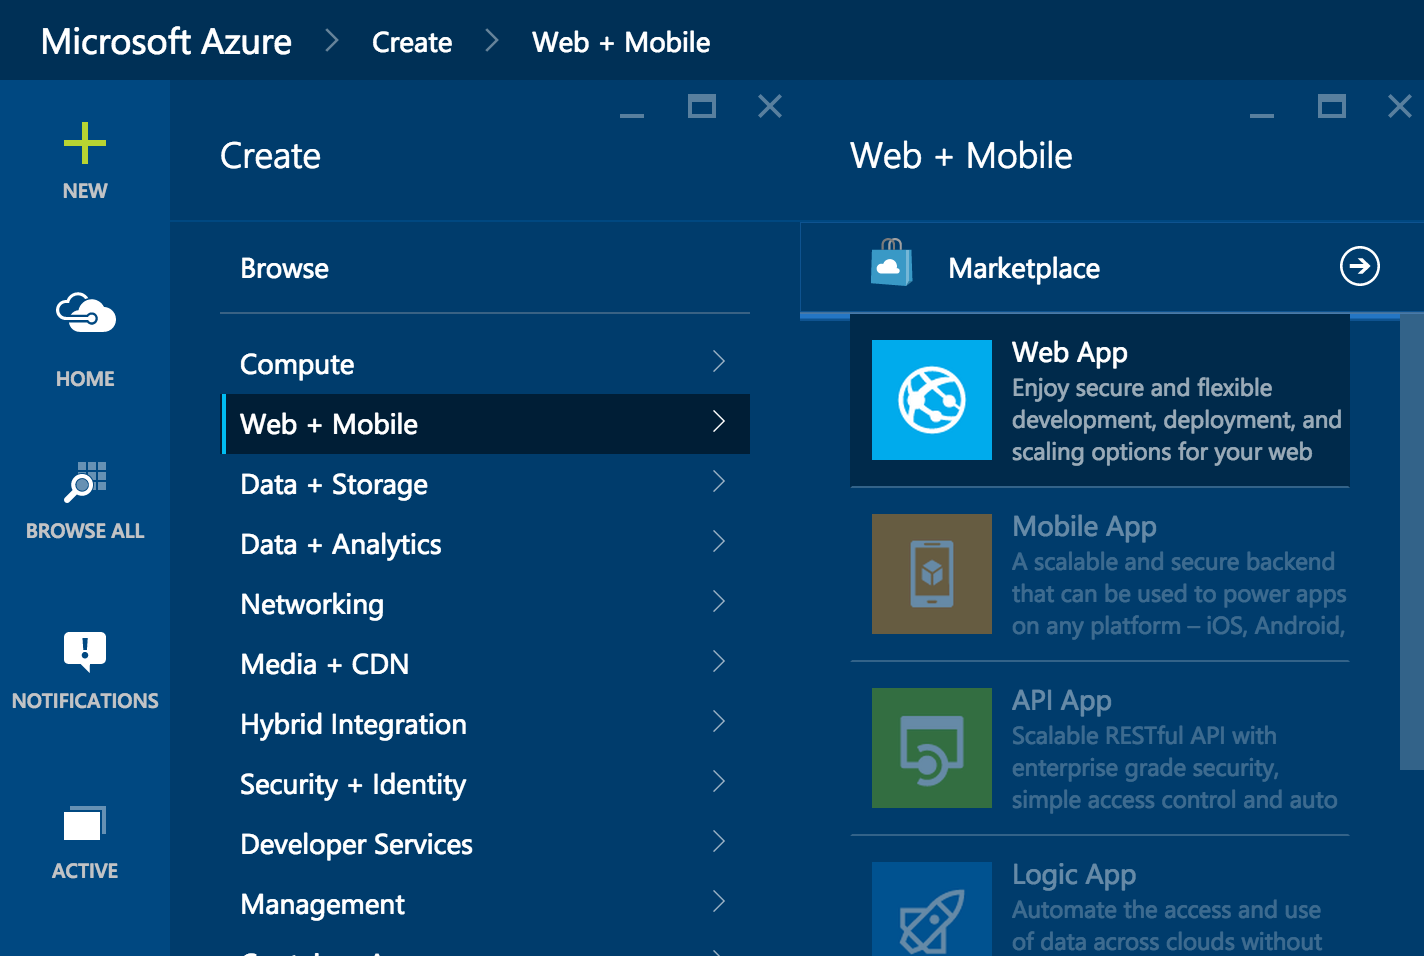
For my setup I clicked 'Web + Mobile' and finaly selected 'Web App'. After this all it asked me for was a name for the service. Azure then took the wheel and created me an environment to start building my application in just a few seconds! Each time you create a service with Azure you get a free .azurewebsites.net domain which makes it really easy to develop applications without having to worry about DNS settings or domain registration.
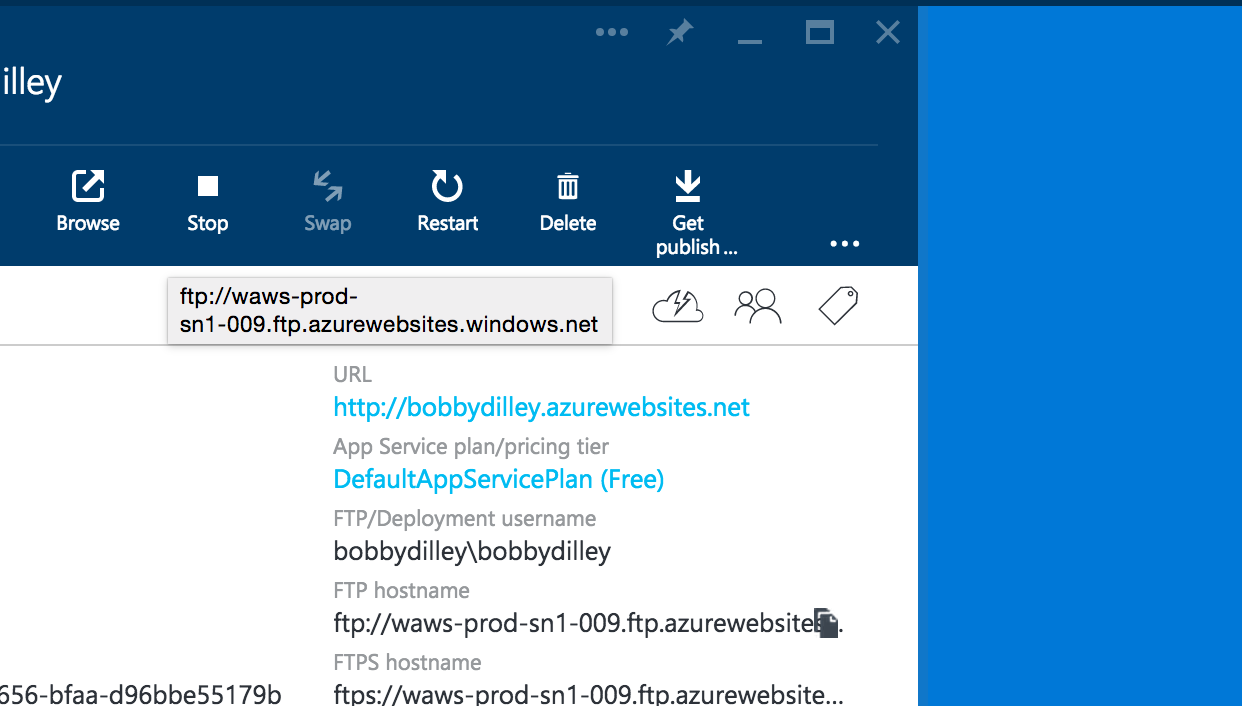
So after the service started I was able to click on it from the home page with the metro tiles. It then showed me all the information I needed to connect to the server and upload my files. I clicked 'Get publish profile' which presented me with an XML file containing FTP/SFTP hostname, username and password which I used to login using my favourite FTP client filezilla.
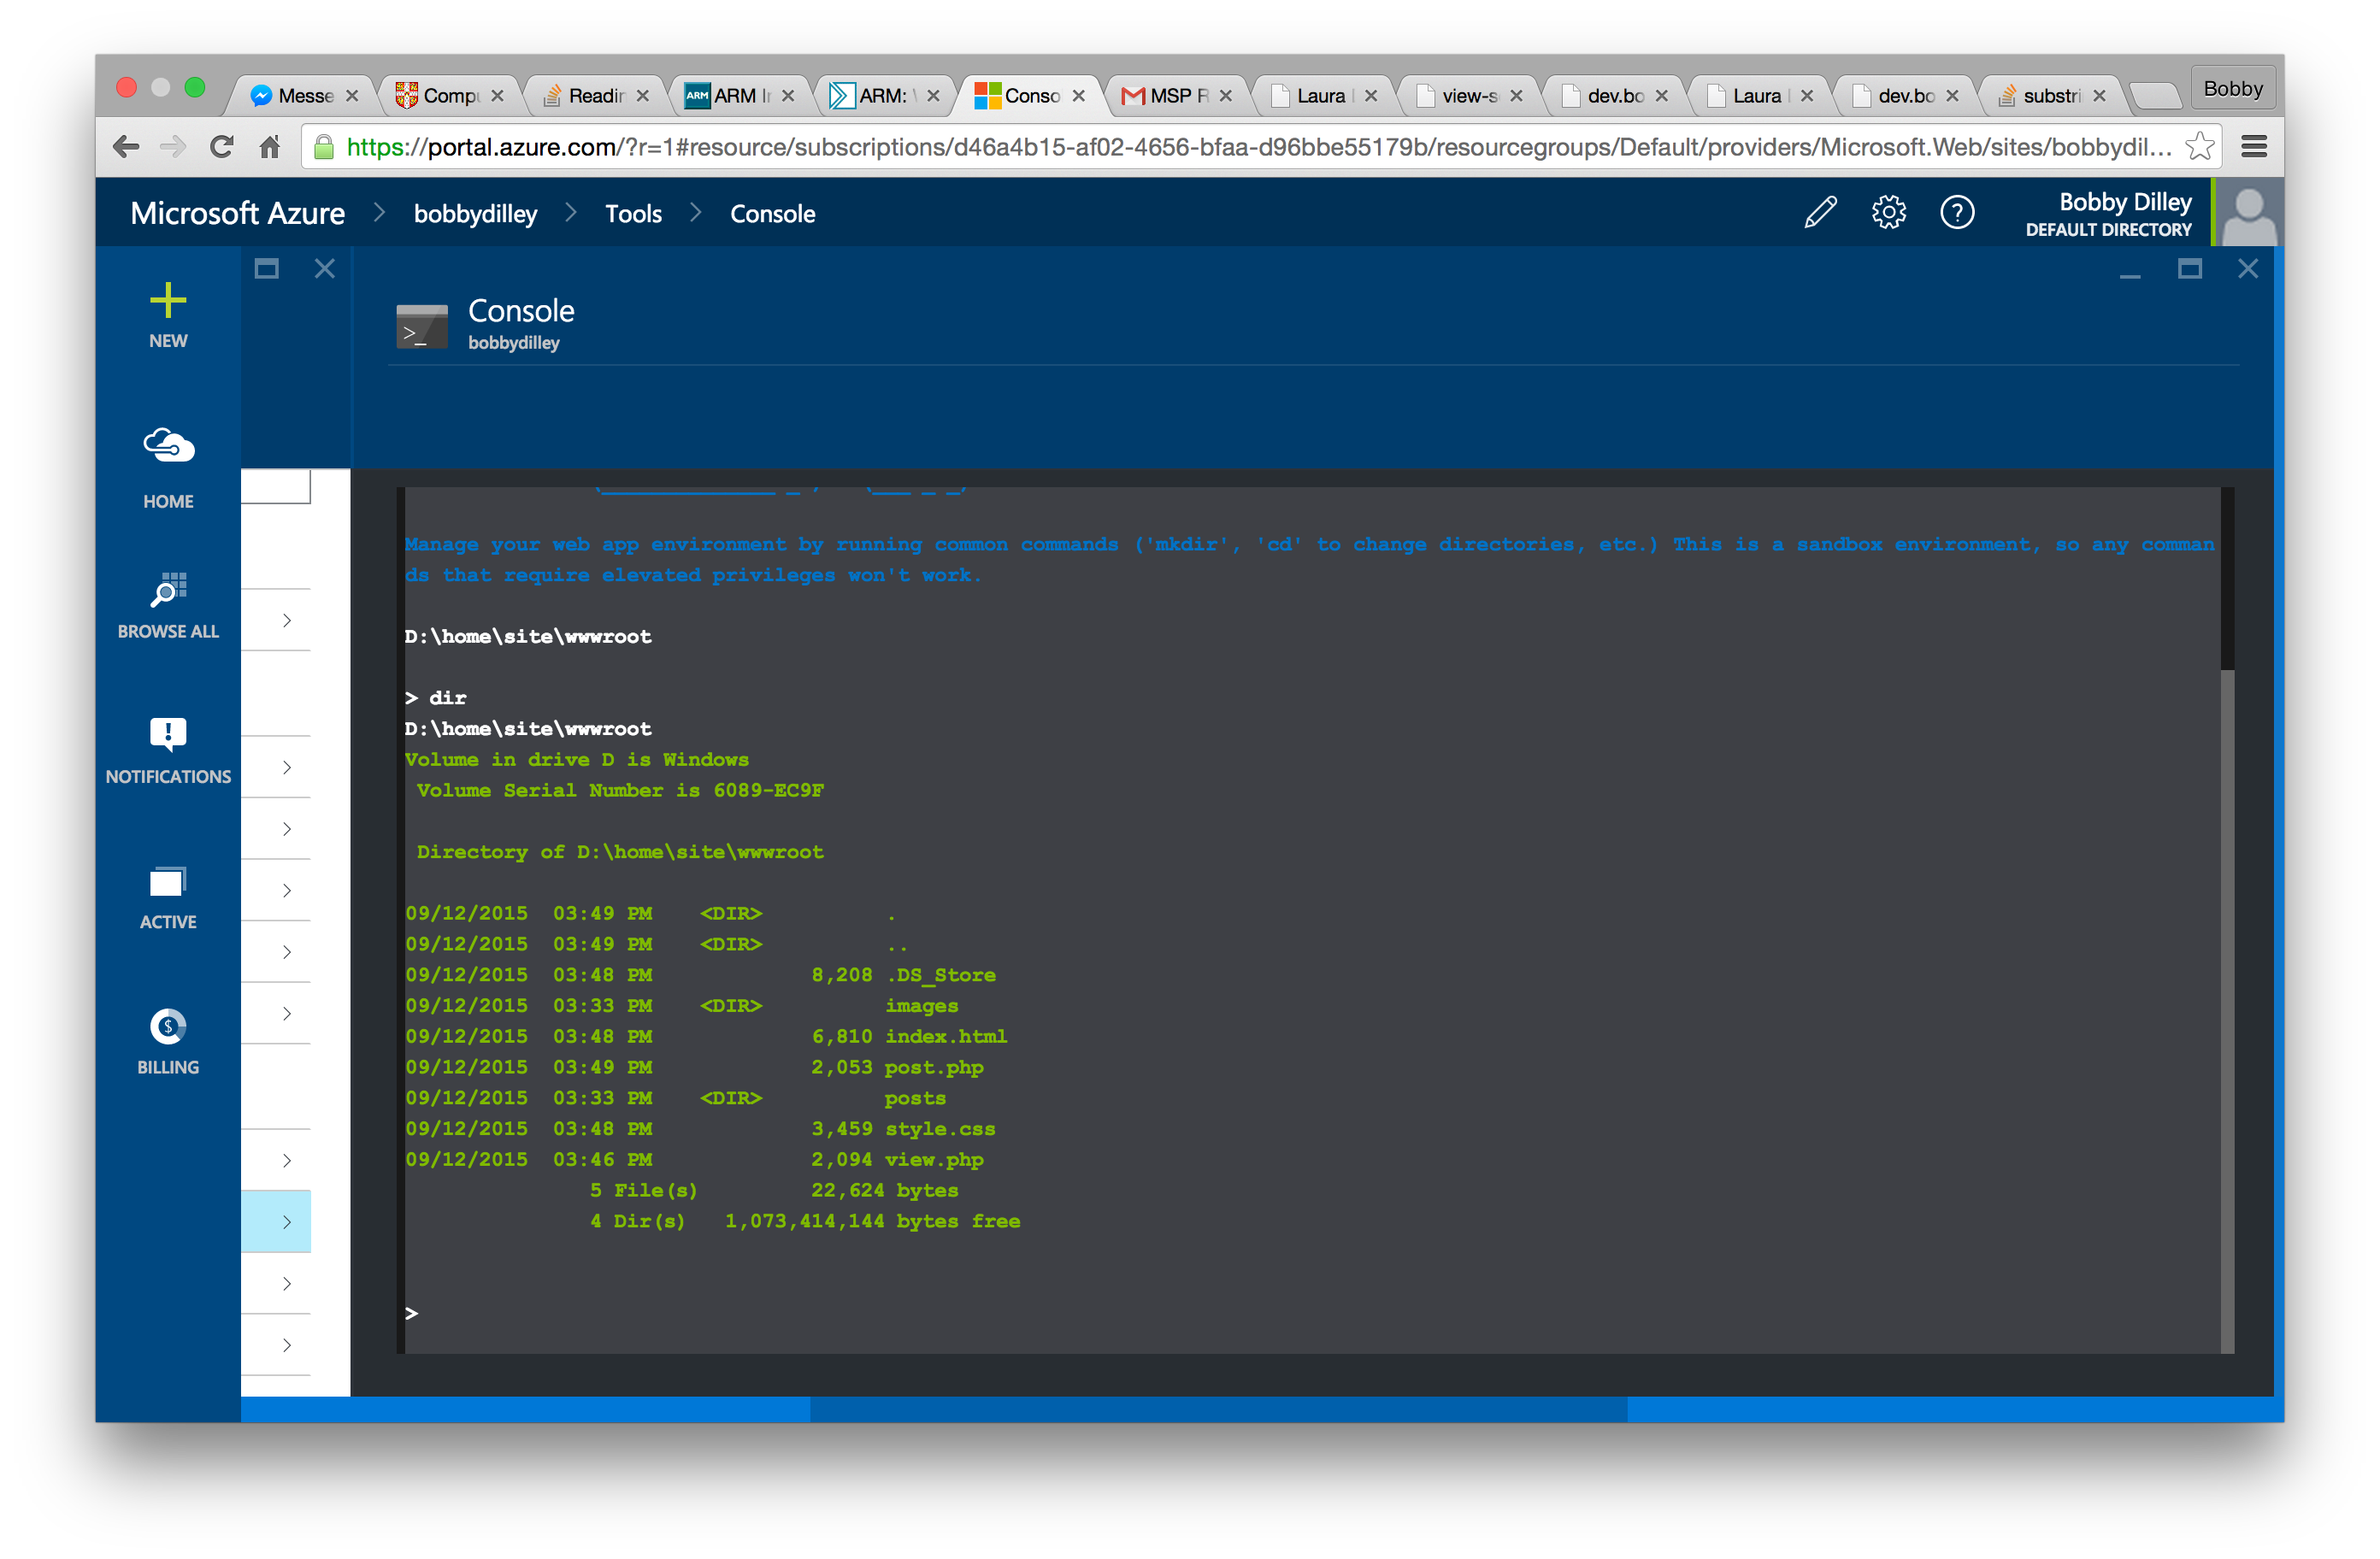
What I really like about the 'web app' hosting from azure, is that it even offers you console access - which means you can edit or move files from within the azure web interface, on almost any device! Note it uses the Windows 'cmd' like shell, so if your expecting bash think again!
Development in PHP
To finish off I thought I would write a little bit about the back end of the system. It is very simple and uses 2 PHP files to render the blog, list the blog posts, and get information saved from the top including titles and dates. I write the blogs using markdown and place them in a folder called posts, which is then converted into HTML and the PHP displays this on the web pages.
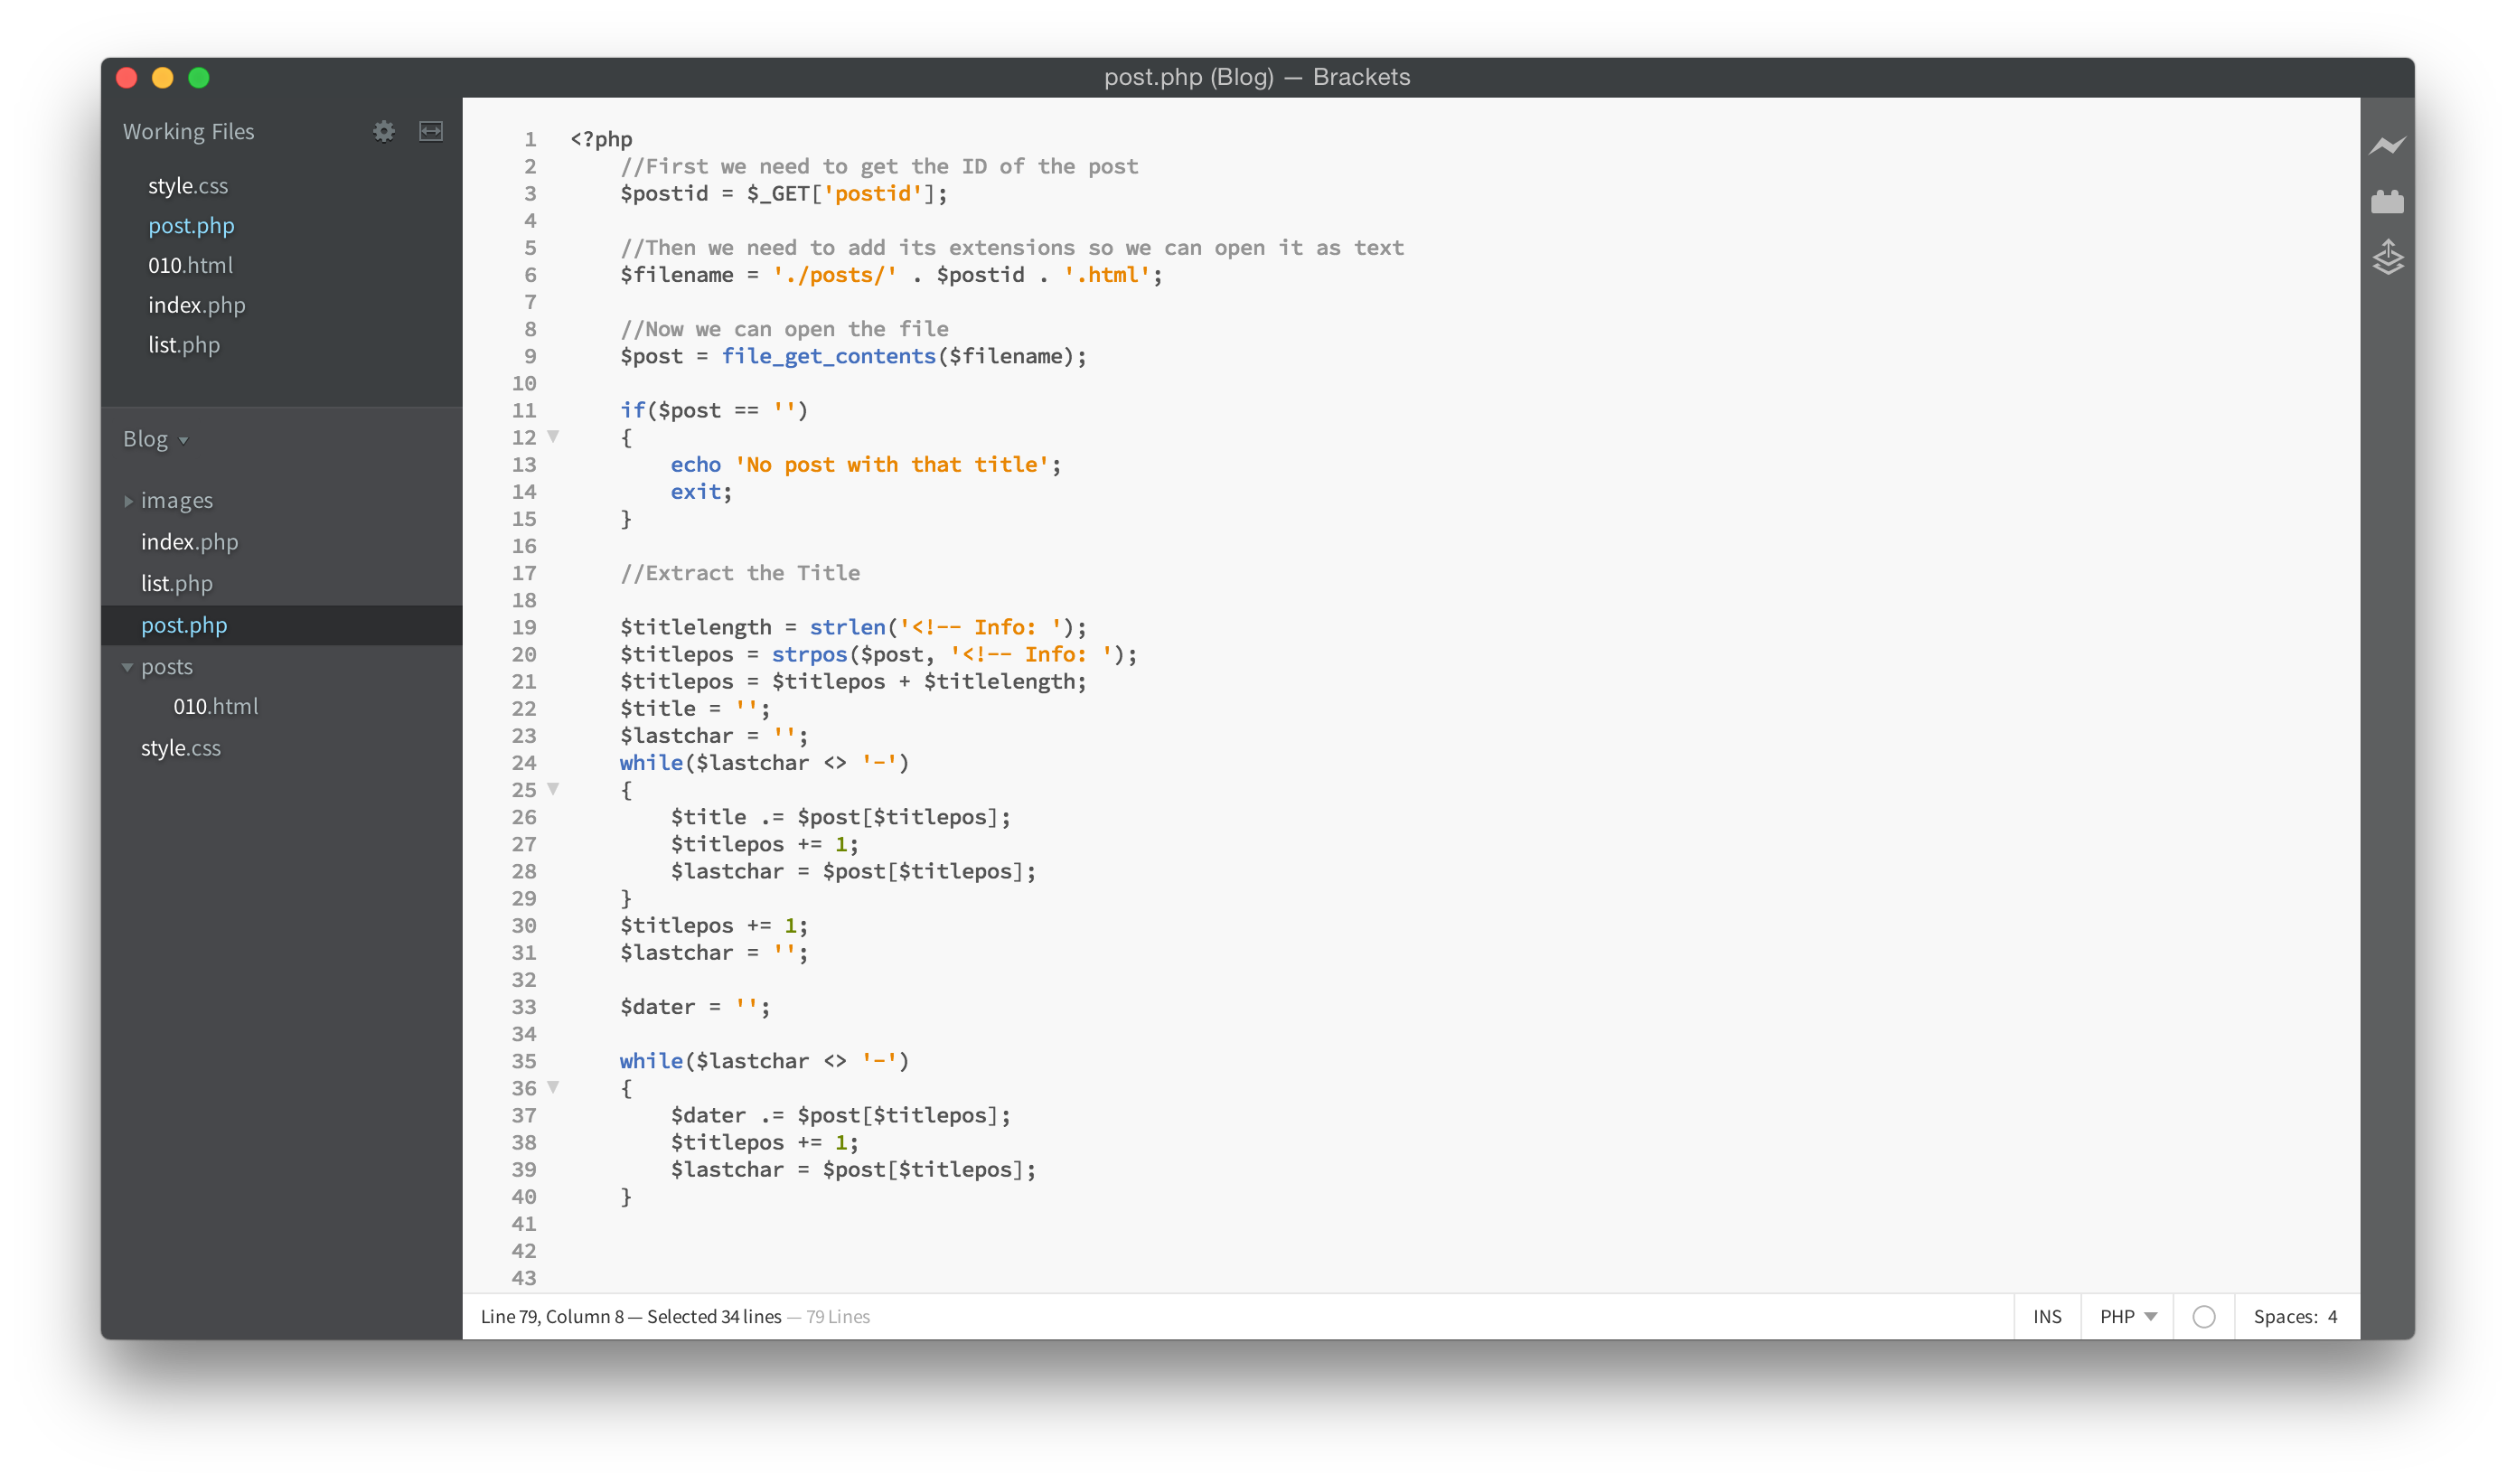
I use Adobe Brackets for PHP and HTML coding, as it allows you to see all your files on the sidebar, and highlights and autocompletes pretty well. I even use this for writing some of the blog posts in HTML, as because i'm only using H2, P and the IMG tags it doesn't get too complex!
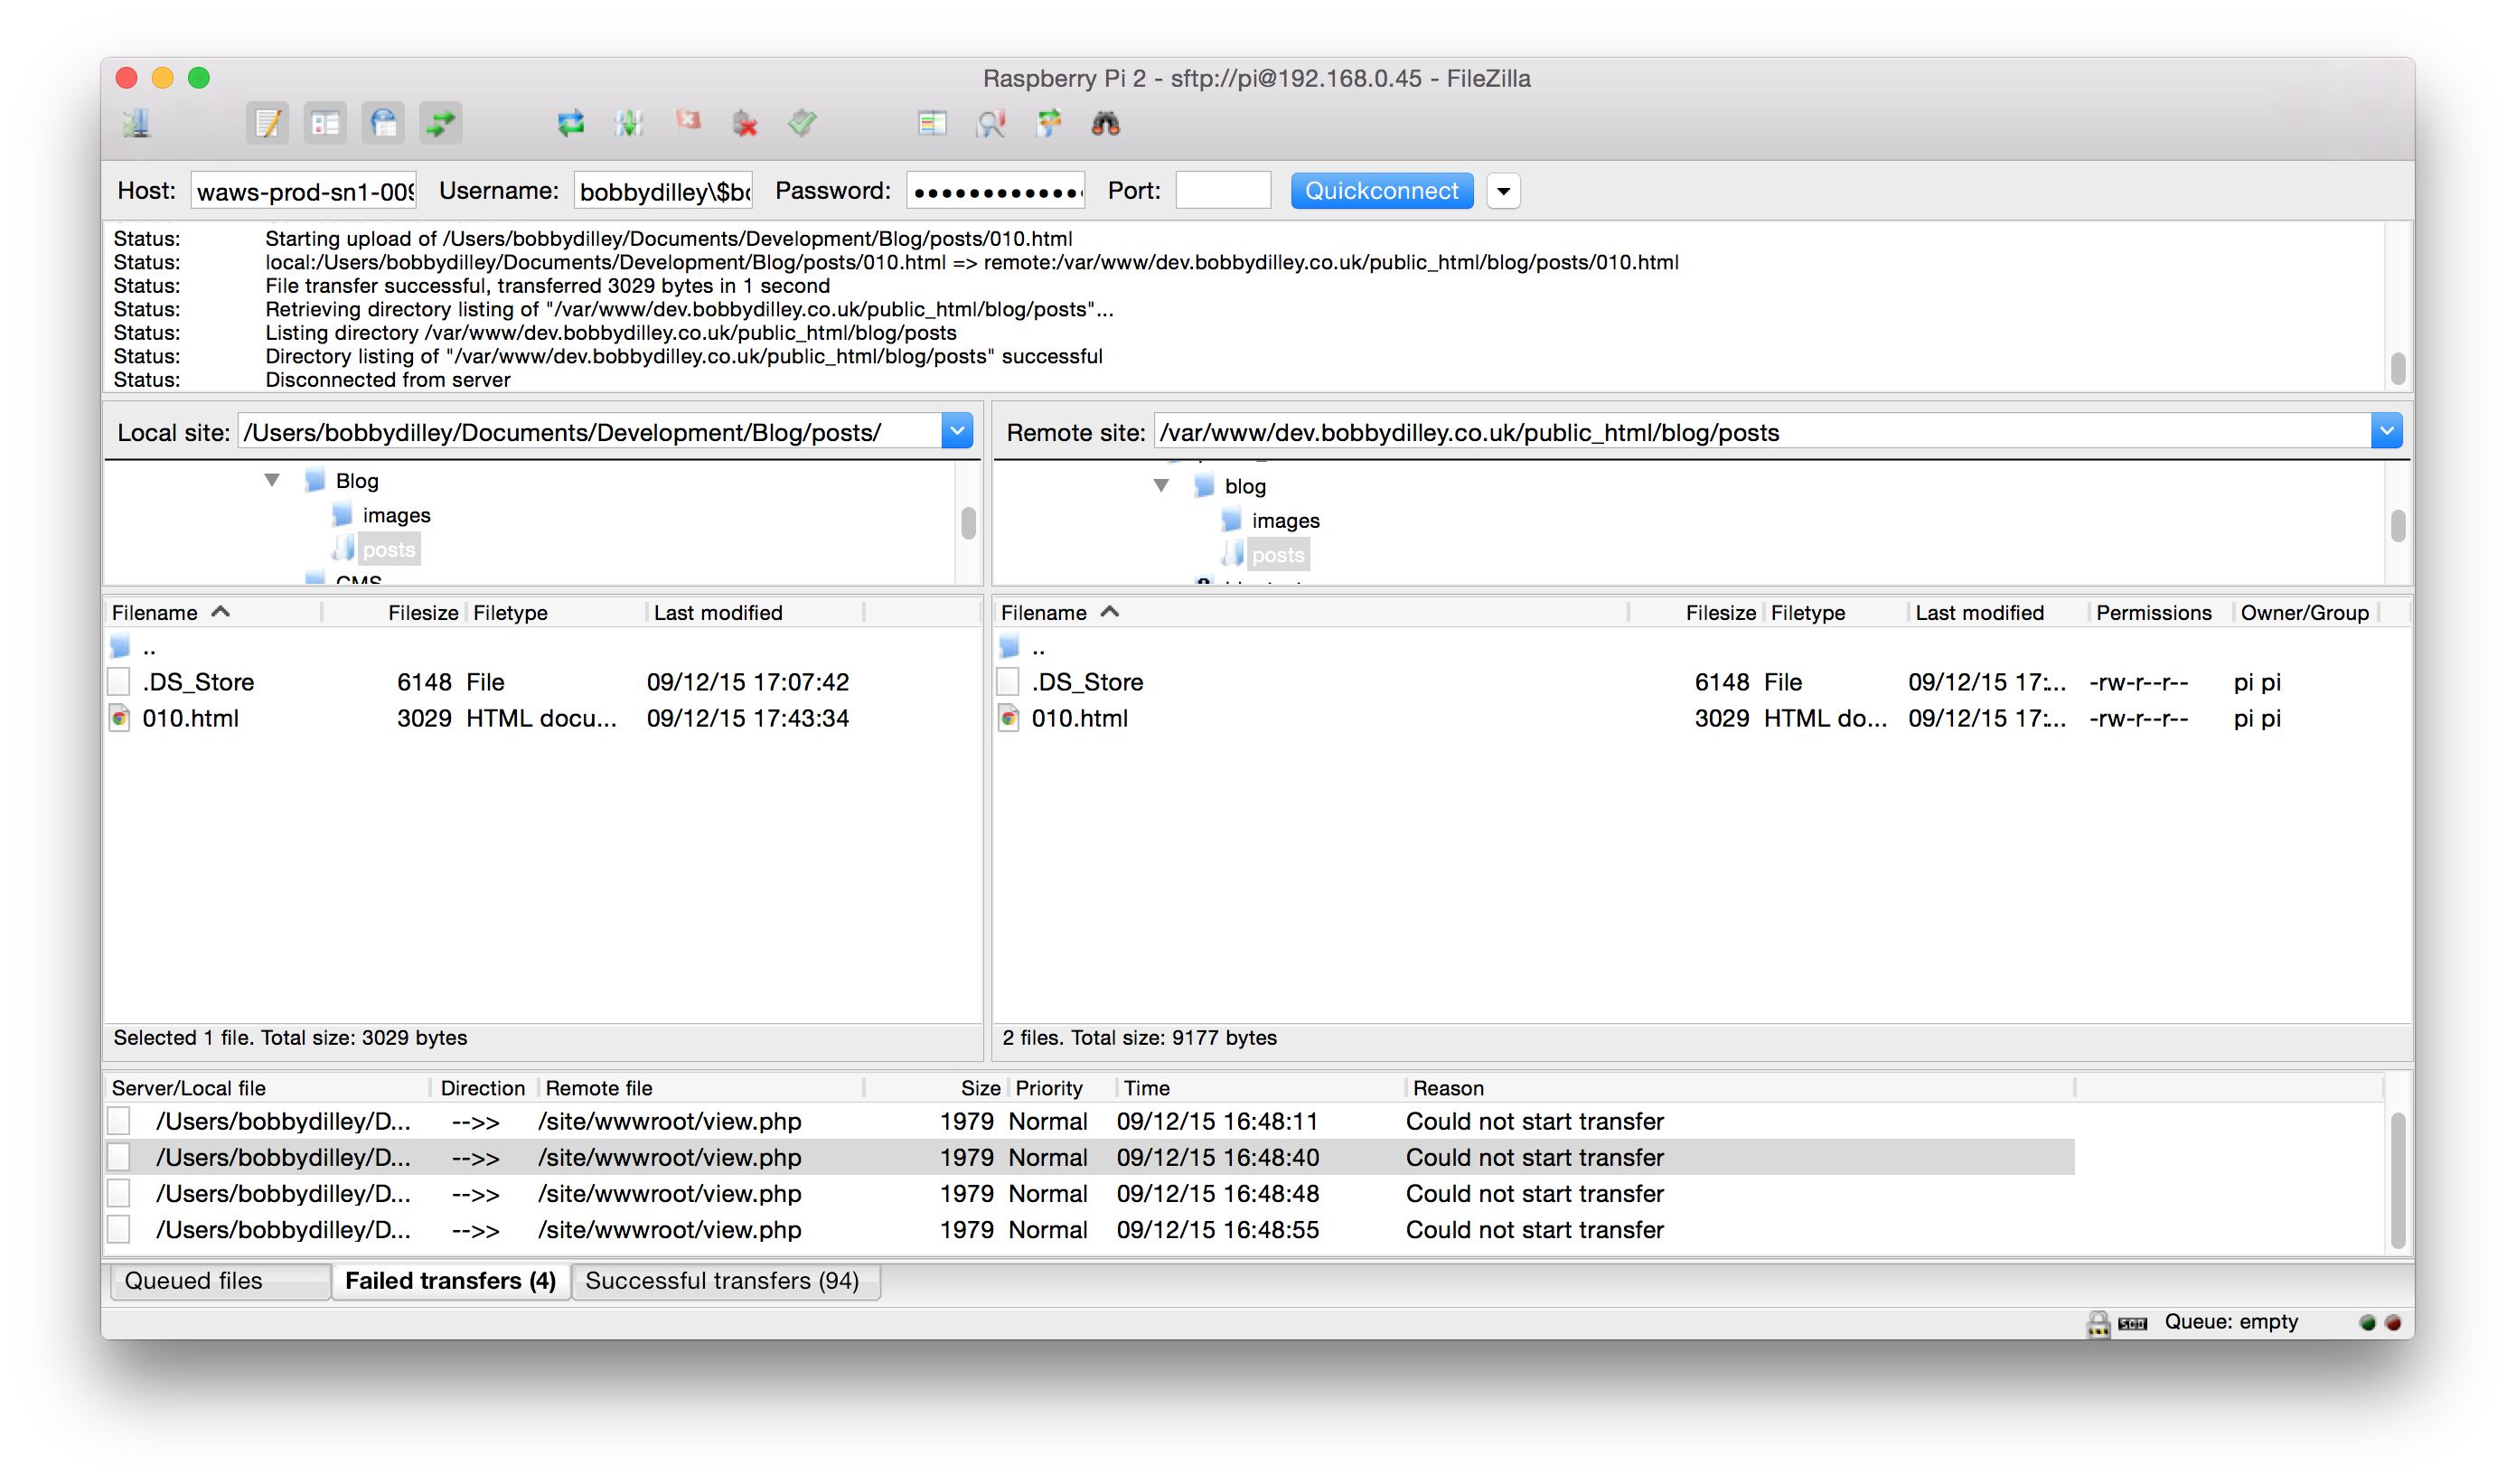
Finaly I use filezilla to upload the files via SFTP to the Azure server. Upload speeds are pretty fast, and I was able to upload some pretty large images pretty quickly!
Maintaining the site
So far I am pretty impressed with the Azure service, and I will definately be using it to develop web applications in the future, because its fast, simple to setup and not to mention free (with a dreamspark/bizspark subscription). I'll check up on the stats of how the site is doing, using the Azure dashboard and report back after the blog has been running for a while. I hope my first blog post for the Microsoft Student Partner program was interesting, check back for more posts about the MSP program soon!
Created with Azure by Bobby Dilley as part of the MSP program